What is Payment Gateway Integration?
Payment gateway integration is the process of connecting your website or application to a payment gateway so you can securely accept online payments. It enables encrypted transmission of payment data between customers, banks, and merchants, ensuring safe and successful transactions in real time.
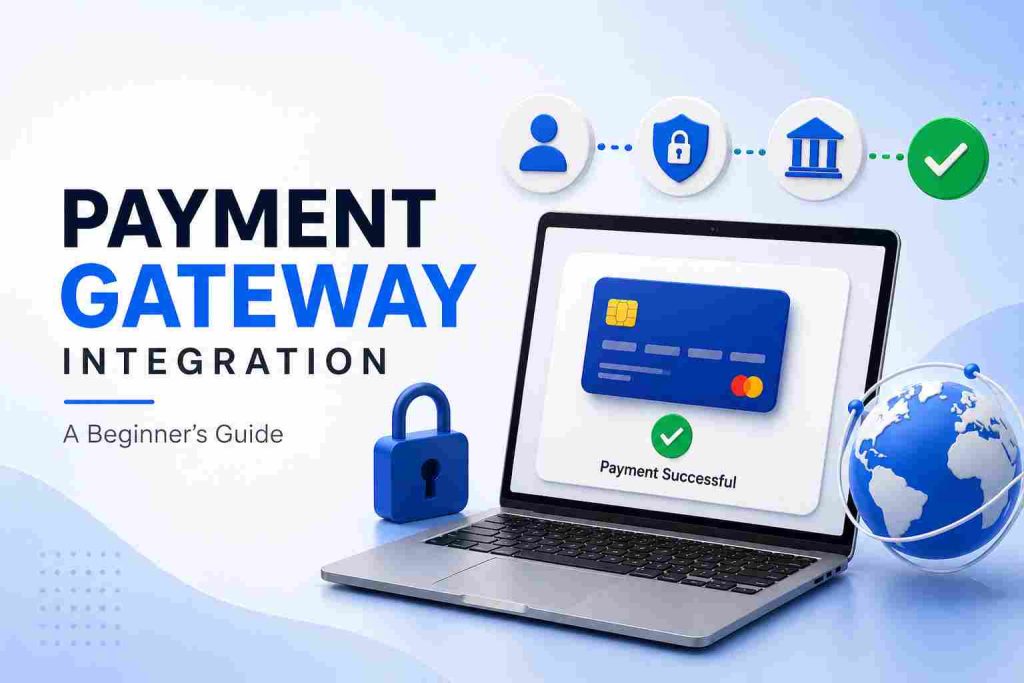
How Payment Gateway Integration Works
When a customer makes a payment on your website, the payment gateway:
- Captures the payment details
- Encrypts the data securely
- Sends it to the acquiring bank
- Verifies the transaction
- Returns approval or decline in seconds
This entire process happens instantly, allowing businesses to accept payments seamlessly.
How to Integrate a Payment Gateway (Step-by-Step)
Follow these steps to integrate a payment gateway into your website or application:
1. Choose a Payment Gateway Provider
Select a provider that supports your business model, industry, and global payment needs.
2. Create a Merchant Account
Sign up and submit your business details for approval.
3. Get API Credentials
Receive API keys, documentation, and integration support.
4. Integrate Using API or Plugin
Use developer APIs or ready-made plugins for platforms like WordPress, Shopify, or custom websites.
5. Test in Sandbox Mode
Run test transactions to ensure everything works properly.
6. Go Live
Start accepting real payments and monitor transaction performance.
Benefits of Payment Gateway Integration
Integrating a payment gateway provides several advantages:
- Secure Transactions – Protect customer data with encryption and compliance standards
- Global Payment Acceptance – Accept payments from multiple countries and currencies
- Faster Checkout Experience – Improve user experience and reduce cart abandonment
- Higher Approval Rates – Optimize transaction success with smart routing
- Scalable Growth – Expand your business without payment limitations
Types of Payment Gateway Integration
🔹 Hosted Payment Gateway
Customers are redirected to a secure payment page (easy to implement).
🔹 API Integration
Fully customizable integration within your website or app (best for scalability).
🔹 Plugin-Based Integration
Quick setup using plugins for CMS platforms like WordPress or Shopify.
Common Challenges in Payment Gateway Integration
Businesses often face:
- High payment decline rates
- Complex API integrations
- Security and compliance requirements
- Limited support for high-risk industries
Choosing the right provider helps overcome these challenges effectively.
Why Payment Gateway Integration Matters
Gateway integration is critical for any online business because it:
- Ensures secure and compliant transactions
- Builds customer trust and credibility
- Enables global expansion
- Reduces payment failures and revenue loss
With increasing online transactions, a reliable integration is essential for long-term growth.
Payment Gateway Integration for High-Risk Businesses
High-risk industries like IPTV, Forex, Gaming, and Crypto require specialized gateway integration due to higher chargeback risks and regulatory challenges.
Inquid provides tailored solutions for high-risk businesses with:
- High approval rates
- Global payment coverage
- Advanced fraud protection
- Multi-acquirer support
Get Started with Payment Gateway Integration Today
Integrate a secure and scalable payment gateway with Inquid and start accepting payments globally with higher success rates.
👉 Get Started Now
👉 Talk to a Payment Expert
Frequently Asked Questions
What is payment gateway integration?
Payment gateway integration is the process of connecting a website or app to a payment system to securely process online transactions between customers and banks.
How long does payment gateway integration take?
Integration can take anywhere from a few hours to several days depending on the method used (API, plugin, or hosted solution) and business requirements.
Do I need coding skills for payment gateway integration?
Not always. Many platforms offer plugin-based integrations that require minimal technical knowledge, while API integrations may need developer support.
What is API-based payment gateway integration?
API-based integration allows businesses to directly connect their website or app with the payment gateway, offering more control, customization, and scalability.